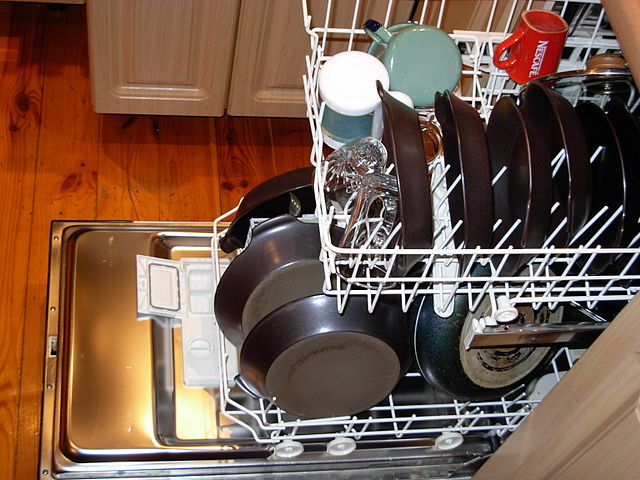
Like any task, the devil is in the details, and the same applies to a dishwasher installation. Even experienced do it yourselfers will tell you that it’s not an easy process. If you’re considering installing your dishwasher yourself, the following information will help.
Before purchasing or installing a new dishwasher, you’ll need to measure the space to make certain that it will fit. Before you start the dishwasher installation process, read the manual that came with it. Not every dishwasher is the same. Some units can have unique requirements. You’ll also need to gather the tools recommended by the manufacturer, which will more than likely include the following.
- Level
- Clamps
- Hole saw
- Teflon tape
- Screwdriver
- Tubing cutter
- Marking pencil
- Drill and drill bits
- Adjustable wrench
- Safety glasses
Dishwasher Installation Steps
Step 1
Cut the power to the circuit, shut off the water that feeds the dishwasher and unscrew it from the underside area of the countertop.
Step 2
Remove the base plate on the new dishwasher (located on the front), allowing access to the electrical box and supply lines.
Step 3
Connect one end of the drainpipe to the discharge pump, mount the air gap to the sink and connect the drainpipe to the air gap. If there aren’t any holes available in the sink for the air gap, you’ll need to cut a hole in the countertop. If your model doesn’t require an air gap, you’ll need to pull the drain hose up, attaching it to the cabinet wall to keep backflow from entering the sink. If you have a garbage disposal, connect the opposite end of the drainpipe to it, using a clamp to attach it to the inlet. If you don’t have a garbage disposal, connect the drain line to the branch tailpipe you’ll find under the sink where your old dishwasher connected to the drain.
Step 4
Connect the water supply line to the shut-off valve and water inlet underneath the dishwasher. It’s also recommended to wrap Teflon plumber’s tape around threaded ends to establish a firm seal that will help prevent leaks. Tighten up the supply lines using a wrench.
Step 5
Using wire nuts, connect the cable to the electrical box on the dishwasher; match the white and black wires. Next, connect the green wire to the ground screw.
Step 6
Turn on the water and power to the dishwasher, running it through a cycle and watch for leaks. If you don’t run into any problems, slide the dishwasher into place and attach it to the underside of the counter.
Problems that Can Occur
- While it’s one of the simplest parts of the installation process, an improperly installed drain hose is a common mistake made by “do it yourselfers.”
- Not attaching to the underside of the cabinet, which causes the dishwasher to tip over when the door is opened.
- Not running the drain hose through an air gap or high loop, causing sink gray water to move into the dishwasher tank, leading to sanitation problems.
- Connecting the drain to the sewer part of the trap, which can cause sewer gases to back up into the dishwasher.
- Leave the garbage disposal knockout in place. New garbage disposals are shipped with a plug in the dishwasher connection, which needs to be removed to open the connection. If the plug isn’t removed the water in the dishwasher can’t drain.
Hire a Plumber to Do it for You
Anybody that has done a dishwasher installation before will tell you that it’s a lot harder to do than it seems. If the process was as easy as attaching a couple of hoses, any do it yourselfer could do it. A professional plumber will have all the skills needed to perform dishwasher installations. To learn more about our fast dishwasher installation, click here.
Write a comment: